
Creating a blog post on WordPress can help you drive quality traffic and rank your website better on search engines. In fact, most online businesses usually have a blog section on their WordPress websites. They use this section to publish articles on their industry to educate and inform their customers. This way, they showcase their expertise and build more credibility in their respective industry.
When you write blog posts or new articles, you have more advantages than businesses that don’t. In fact, businesses that have a blog have 55% more visitors than those that don’t. It helps keep the site up to date and provide exciting and valuable content for your readers. Creating a blog post on WordPress is not as difficult as you might think. In fact, writing a blog post helps you showcase your expertise in your respective industry.
In this article, we’ll explain how to create a blog post on WordPress.
How To Add New Post On WordPress
1. Login To Your WordPress site and create a Post
To create a new blog post on WordPress, you need to head to yourwebsitesite.com.au/wp-admin and log in with your username and password. This will take you to the backend of your WordPress website. Click on the “post tab” and select “Add New’. You can also click on the “+” icon in the header and click Post.
2. Adding Title to your Post.
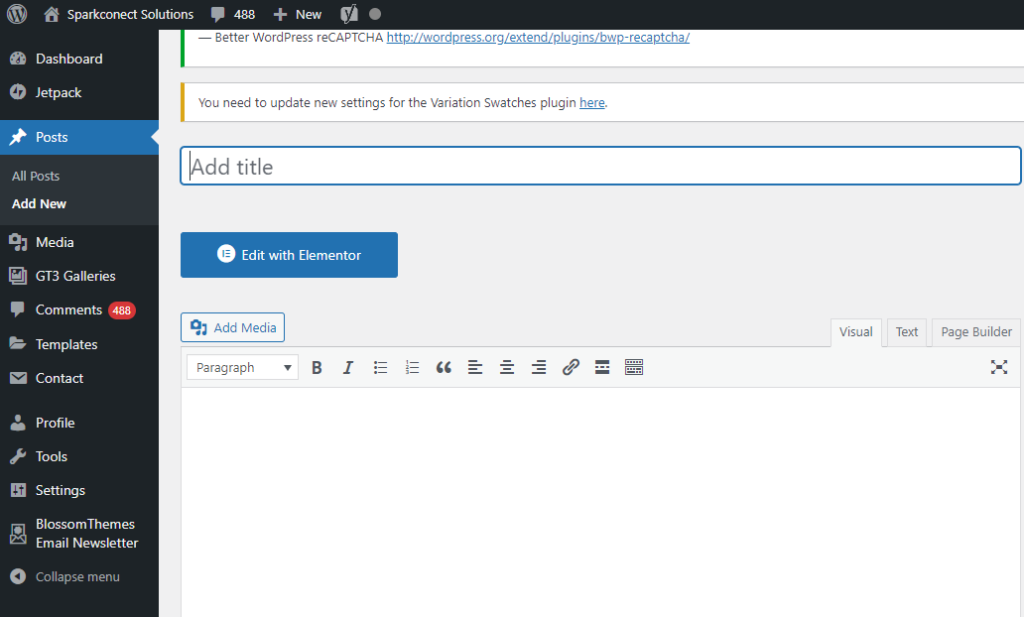
After you have logged in to your WordPress and created a new post, the next thing is to enter the title of your article or post. Adding the title of the post is very important for site SEO. It gives giving meaning to your article and makes searchers find it on the web. When you click on the add new button, You will automatically see an “Add Title” field on the top of the page of the visual editor.
3. Add Content
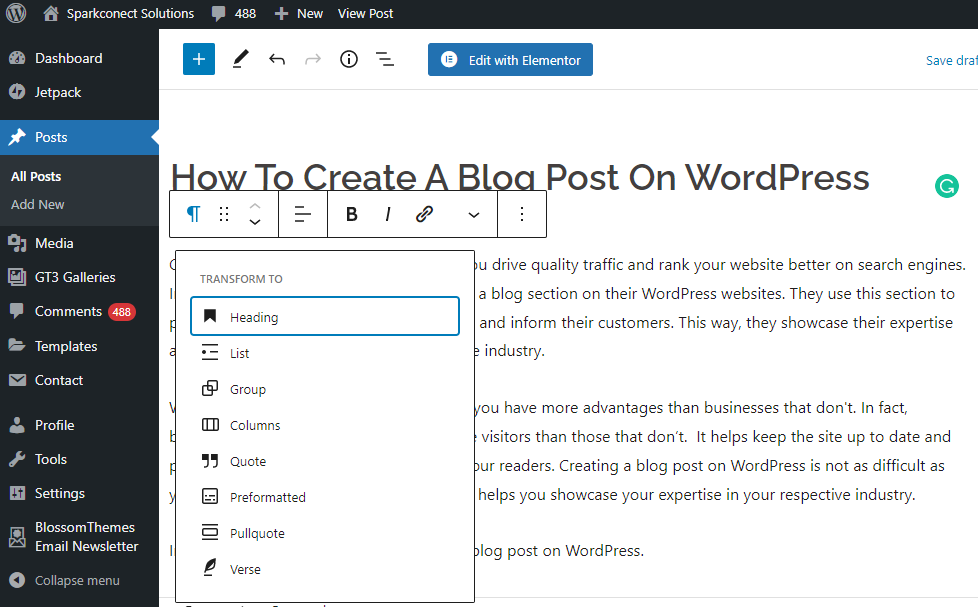
After you have given your post a title, it’s time to start writing your article. Ideally, any type of article should have an introductory paragraph, body paragraph and conclusion. Writing articles on WordPress is no different. However, the format and structure might be a little bit different from your everyday article. Your article must be grouped into heading and subheadings to make it well organized and also rank on the search engine result page. There is heading 1 to 6.
You can also transform some of the blocks. Start with a Paragraph block, then change it into a column, heading, or quote by clicking on the block icon button.
4. Adding Images and Videos

Adding images to your blog post gives additional information to your post. It helps readers flow with your articles and generally makes them more appealing to the reader. Furthermore, images increase your site’s speed and SEO.
WordPress provides you with two options for adding images to your post. There is the Image block for a single upload and the Gallery block for multiple images. If you want to show a single picture, choose the Image block. However, if you want to display several pictures then the Gallery block is a better option for you.
You can add images by;
- Dragging and dropping the media directly into the chosen block.
2. Adding existing media from the Media Library.
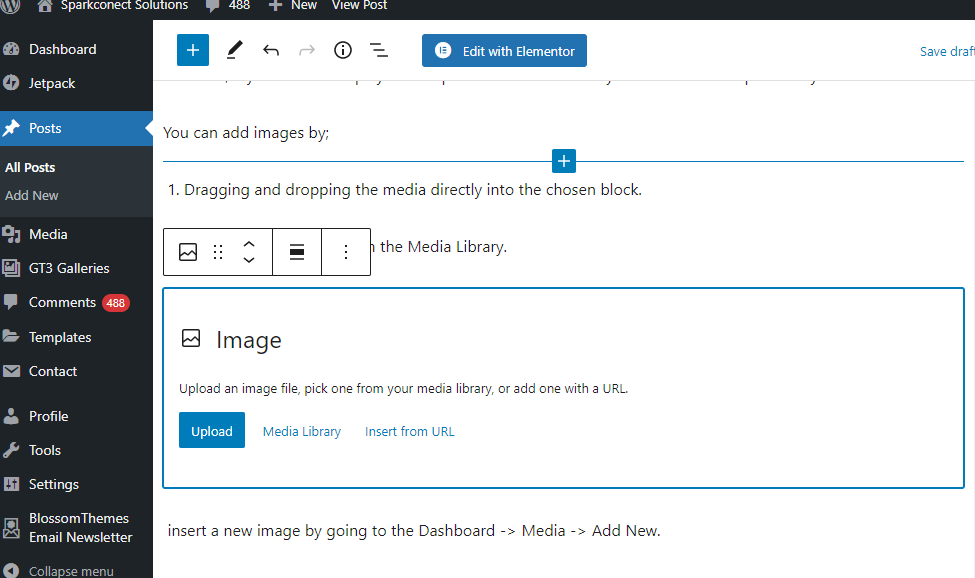
3. inserting a new image by going to the Dashboard -> Media -> Add New.

To add other types of media files like video, you need to head over to your dashboard then go to media then click add new. You can also access the media button under the “+” symbol on the header. Adding media can also be done through blocks. Just click on the “+” sign and type in the name of the content you want to insert. For example, you can type an image or video on the search bar. Another quick way to add images, audio, and videos is by copy-pasting the URL in the block.
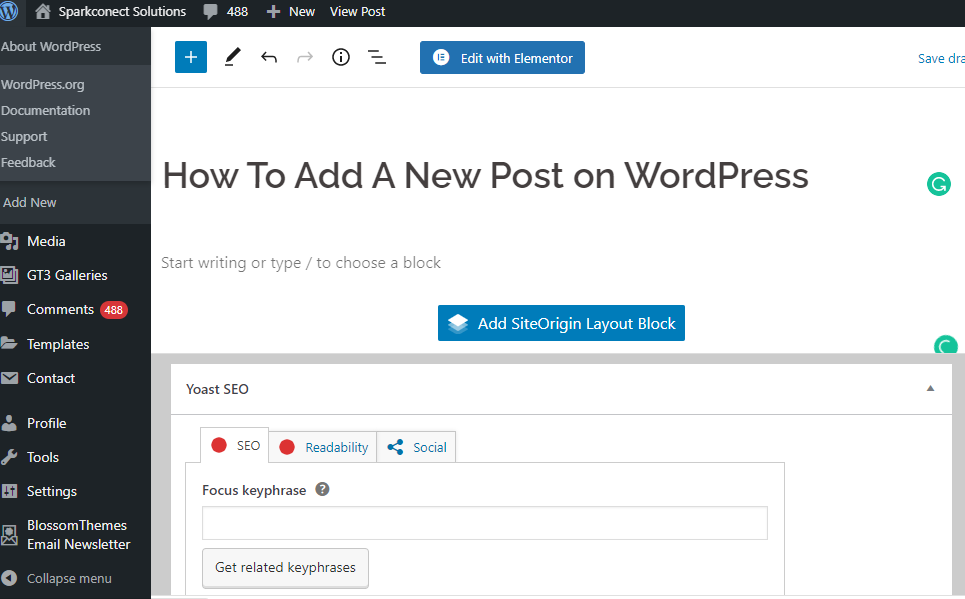
5. Add Focus Keyphrase
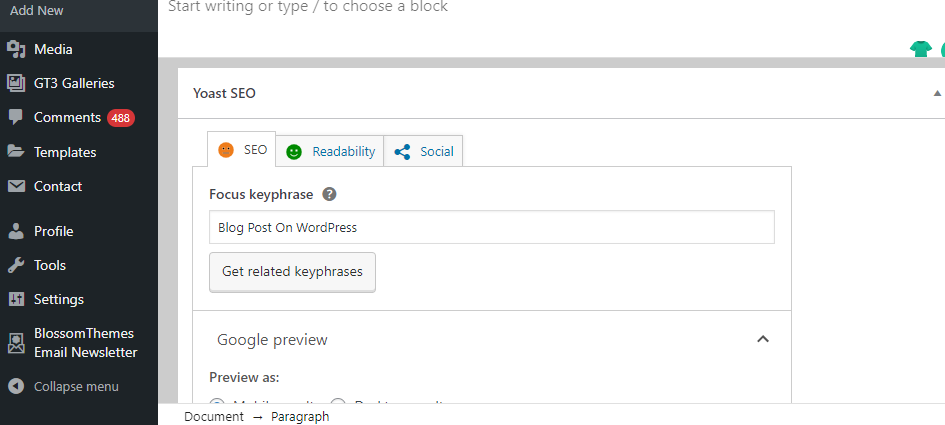
After you have finished your post, the next thing you have to do is enter your Focus keyword. The focus keyword is a field where you can insert a keyword or phrase. Once you insert your keyword or phrase, the plugin evaluates the page or post including your SEO title, H1 tag, body copy, images and other elements and let you know how well you’ve optimized for your keyword or phrase. Choose the keyword or phrase you want your article to rank for. Then make sure that keyword is in your title SEO, within the first sentence of your introductory paragraph. You can use the SEO settings on the right side of your screen to guide you.
6. Adding a Featured Image
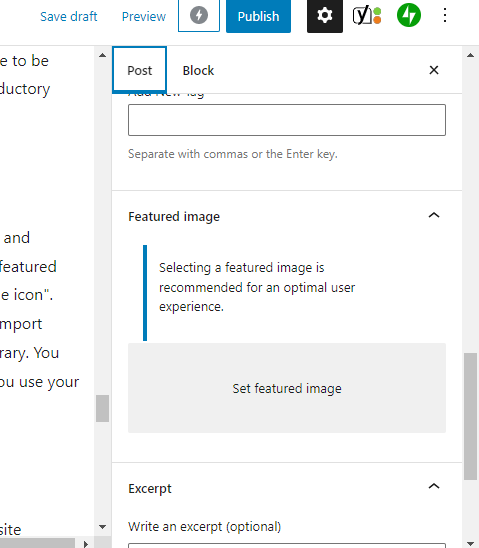
Adding a featured image to your post is very important for your post’s SEO. It also makes it appealing and attractive to readers. It attracts visitors, increases content value, and improves SEO rankings. To add a featured image, click on post at the right side of your screen, then scroll down till you see the “set feature image icon”. After you click on it, you’ll be directed to the media library, where you’ll be able to pick an image or import images from your file. You can edit your images using the tool on the right-hand side of the media library. You can also set the alt text and title to make your blog more visible on search engine pages. Make sure you use your keywords in the alt text and title. Your image should be 1200×675.
7. Adding Tags and category
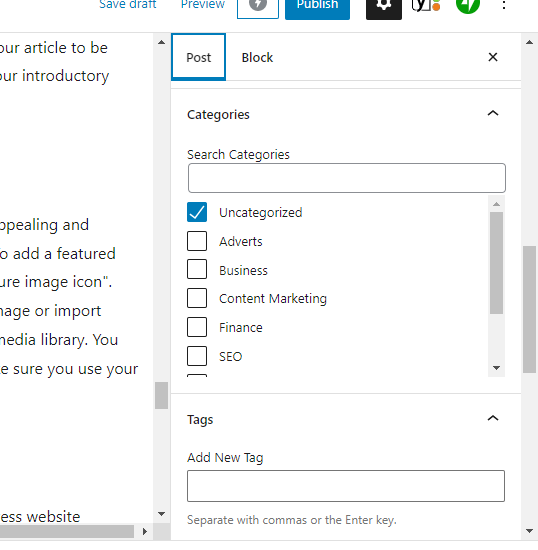
Adding categories and tags to your posts is essential for SEO and simply keeping the WordPress website organized. Categories cover the general topics of the blog, and tags are more specific to the post. You can add tags and categories by clicking on “post” on the right side of the screen and scrolling down till you see the category and tag icon. Note that you can add more than one category and tag. You can also add categories to the website menu, just like pages. Just head to the dashboard and on appearance then menu. You will find “category” under the menu.
8. Preview and Proofread your post
After you have done your SEO and readability editing, you can preview and proofread your post. This can be done by clicking on the “improve your post with Yoast SEO” button on the right side of your screen. WordPress will show you some tips to improve readability and improve your post SEO. Note that there is a tutorial for each of the to-do lists. You can use tools like Grammarly to check your spelling and grammatical error.
9. Publish or Schedule your post
To publish or schedule your post, click the publish button to schedule your post or publish them immediately. Depending on the number of articles/ posts you have, you can decide to schedule them to post at intervals.